Model reference
Reference Figure: The Application Model in the Tutorial
The tutorial application model is small on purpose: one entity, one service, one controller and two views. This figure shows how the parts connect.
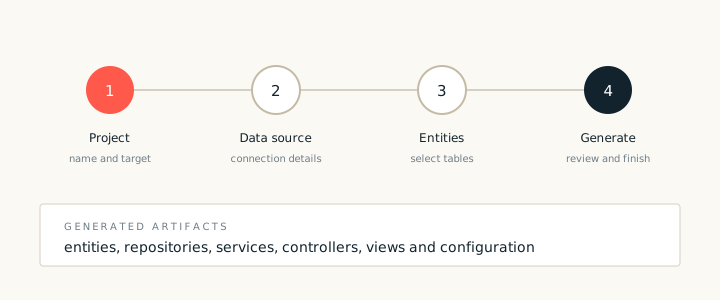
The tutorial builds a small customer application. The model has one entity, one repository, one service, one controller and two views. Nothing is decorative. Every element exists to show one part of the generation flow.
The model at a glance
- Customer entity. A name, an email and a status.
- Customer repository. Find by key, find all and find by email.
- Customer service. Save, find and list operations with a transaction boundary.
- Customer controller. List and edit actions with a form backing object.
- Views. A list page and a form page.
Following the tutorial
Create the project, add the entity, then generate. Read the generated files before you change them. The names in the generated code should match the names you used in the model. If they do not, the model and the recipe disagree, and it is easier to fix the model than the code.
When the tutorial is complete, extend the model with one new attribute and regenerate. The change should appear in the entity, the form, the list and the database script without any manual editing.