Step Guide
Step Guide: Generating and Running the Application
With a model in place, the next move is to generate the Spring project and start it. This step covers the generation run, the output layout and the first launch on a local server.
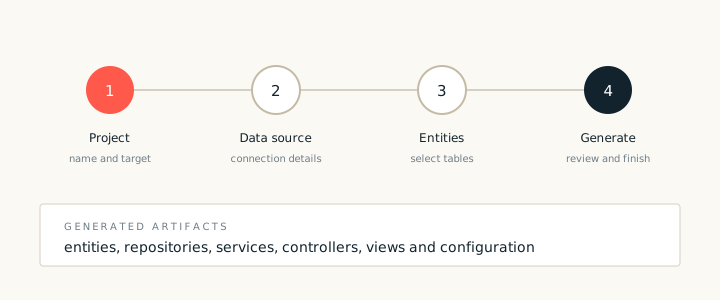
Generation is driven by recipes. A recipe describes the files to create, the templates to apply and the model inputs it needs. The default recipe set covers the common Spring layers: entities, repositories, services, controllers, views and configuration. You can run the whole set at once or select individual recipes.
Running generation
- Select the project in the model explorer and choose Generate.
- Pick an output folder. Use a folder that is empty or that already belongs to the same generated project.
- Select the recipe set. The default set writes a complete Spring MVC application.
- Review the summary of files that will be created or replaced, then confirm.
The run writes a report at the end. The report lists every file that was created, every file that was skipped and any model element that could not be generated. Read the skipped items first. They usually point to a missing attribute, an empty operation or a type that has no stereotype.
The generated layout
- Source. Java types for entities, repositories, services and controllers.
- Resources. Spring configuration, property files and database scripts.
- Web. JSP pages, tag usage and static assets.
- Tests. Starter tests for the generated service and controller layers.
First launch
Open the generated project in your IDE, confirm that the server runtime is configured, and deploy the project. If the application uses an embedded database, the first launch creates the schema from the generated scripts. Watch the console for the Spring context startup message, then open the application URL shown in the server view.
Once the application starts, use the running application as a feedback loop. Change the model, regenerate, redeploy and compare. This short cycle is the main advantage of a model centric workflow.